
Internship Spotlight: Joe’s 3D Printed Marble Run
The step by step process on how my marble run was made!
By Joe Woodson
I was inspired to create a marble run for the WMSI maker space after I saw some of the amazing marble runs that are located at The Montshire Museum of Science.
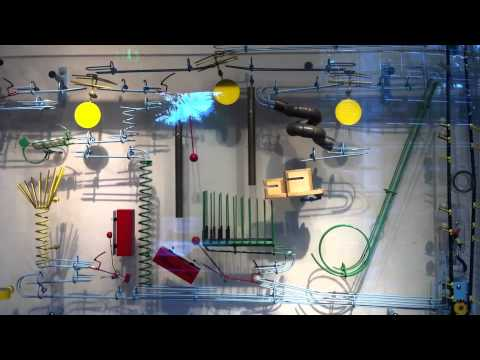
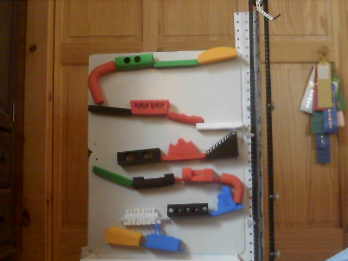
While the marble runs like the one shown in the picture above are made with metal, the pieces for the marble run that I have created were made by using a 3D printer. Plastic wax was melted through a nozzle and a step by step code was used to print the individual pieces out. Magnets are used to hold the pieces onto the board which form the actual marble run.
Most marble runs are enclosed in a glass case so people won't be able to mess around with the inner parts that could be easily damaged, but my marble run is kid/young inventor friendly. The main purpose of this marble run was to have it be interactive for kids so they would be able to move the pieces around to different spots on the magnet board themselves rather than having them look at one big constant loop. Since the individual pieces are made of hard plastic, they are almost impossible to break, making them perfect for kids to play and experiment with.
How the pieces were printed
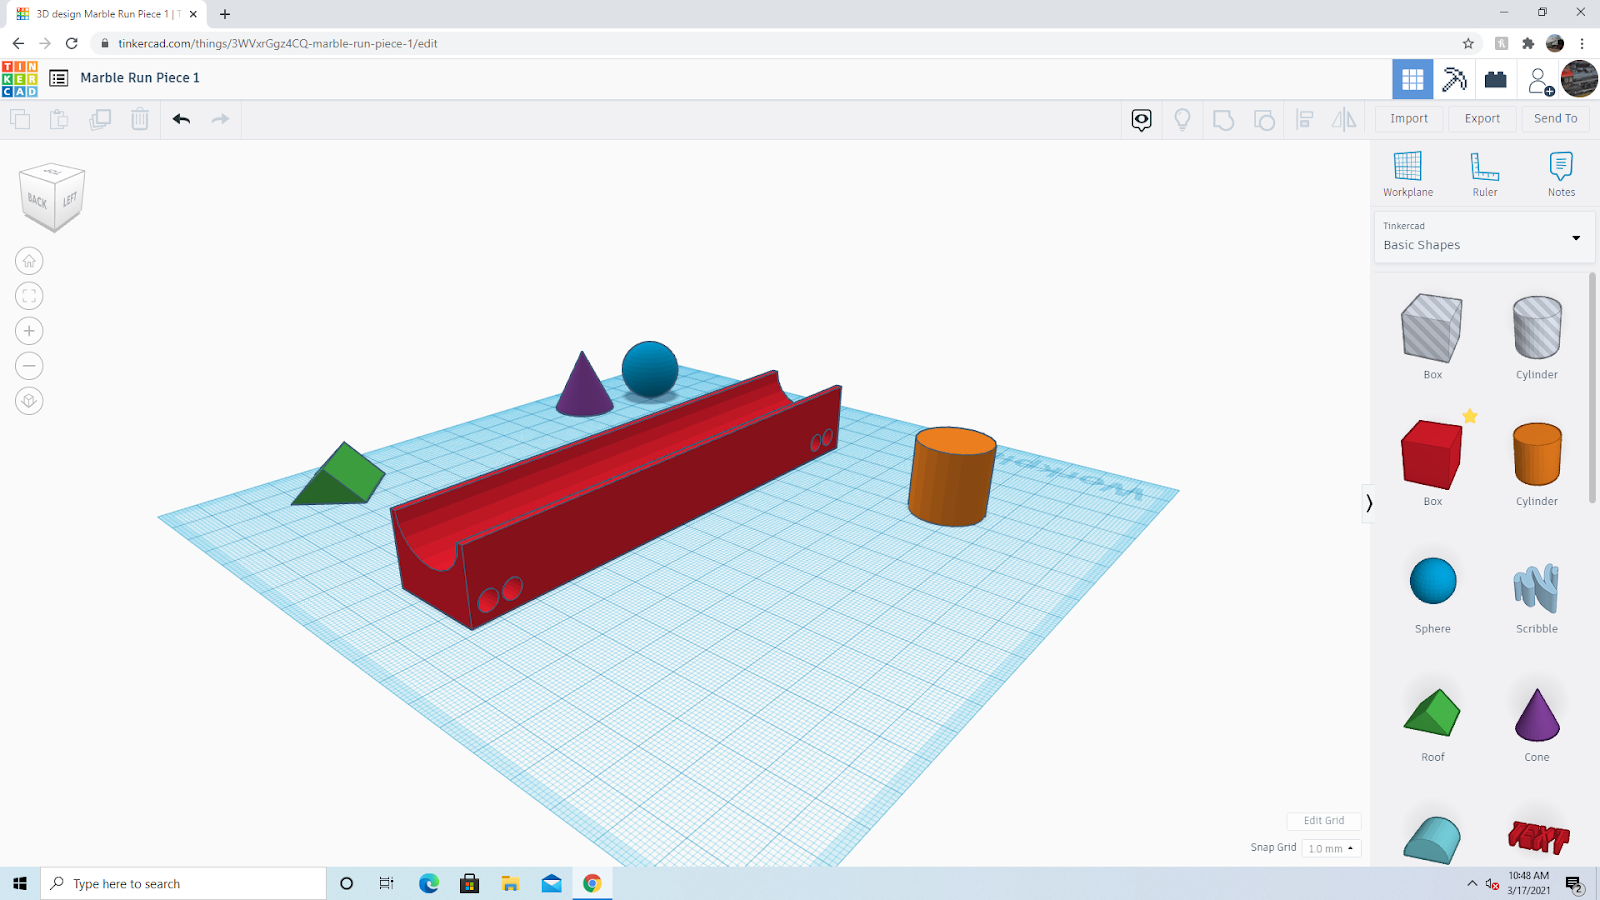
The codes for all of the individual pieces were created on an online website called Tinkercad. On this website you can create all sorts of different types of designs and objects by only using basic shapes like cubes, cylinders, pyramids, and many more!
Once the pieces were completed, they were all placed into a measuring system called Cura that shrank them down to the size of the bed of the 3D printer. After the codes were then placed into a small removable drive, the removable drive was then placed into the 3D printer and all that was left to do was to set the printer up and wait a couple of hours for the pieces to finish printing.
The Backboard
The base for the marble run is made of a standard strip of wooden peg board. The original plan for the marble run was to have small pegs stick into the individual pieces and have all of them line up in the peg board holes to form the actual structure the marble will roll down. Unfortunately there were some problems with how the pieces lined up on the board. The marble continuously fell off of the pieces and dropped to the floor. The whole structure was not very strong, so I eventually decided to change the whole design of the marble run from wooden, to magnetic.
The Magnetic Wall
I replaced the wooden peg board wall with two large magnetic boards and took all of the individual pieces and hot - glued small magnets onto them.

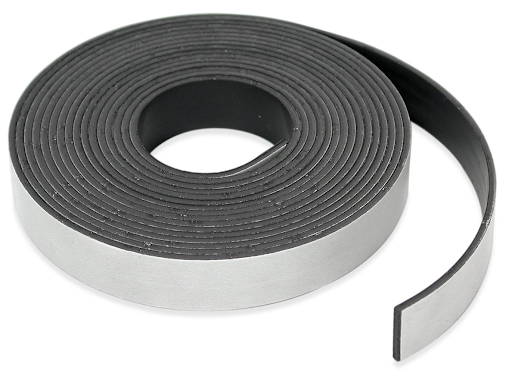
The magnetic system is much better than the old wooden peg board system. All of the pieces fit to the board much better now, and it is a much smoother running for all of the marbles.
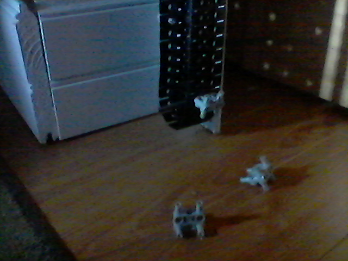
The Elevator
The marble run is equipped with an elevator made out of LEGO Technic pieces that carries the marbles to the top of the run and drops them onto the first piece. Since the marble run was created for it to be played with by small hands, the elevator is operated by a pulley system that kids can operate themselves rather than having a motor turning the gears for them. The elevator’s skeleton is made with LEGO Technic beams and a variety of small gears. The chain holding the marble is made up of LEGO treads and the prongs holding the marbles are also made up of pieces from the LEGO Technic set.
At the bottom of the marble run, there is a bin that holds all of the pieces that are not being used. The bin also contains a hole at the bottom so that when the marbles fall into the bin, they roll through the hole and into the Scoop.The Scoop at the bottom of the marble run is where the marbles are loaded onto the pulley system where they are brought to the top.
This 3D Printed Marble Run took a very large amount of time to create and a large amount of imagination too. Made up and held together with just plastic wax, wood, LEGO pieces, and a good amount of glue!
Listed below are the websites that were used to create the marble run pieces. If whoever may be reading this likes the idea of 3D printing, you can click on the link below to start designing your own creations!
Tinkercad: https://www.tinkercad.com/
Cura: https://ultimaker.com/software/ultimaker-cura
WMSI Interns continue to creatively solve problems remotely this school year.